Installing a small water garden in thirty minutes is feasible if the container, location, and plants are already prepared. This timeframe applies only to the setup of a very simple arrangement. It does not include shopping, checking the support surface, assembling a complex kit, and certainly not the biological preparation of a pond intended for fish.
The right approach is to make your decisions before the day of assembly. You will then be able to install your patio pond calmly, without sacrificing the steps that ensure its stability and maintenance. Here is what must be ready and a practical workflow to adapt to your project.

Which project can really be assembled quickly?
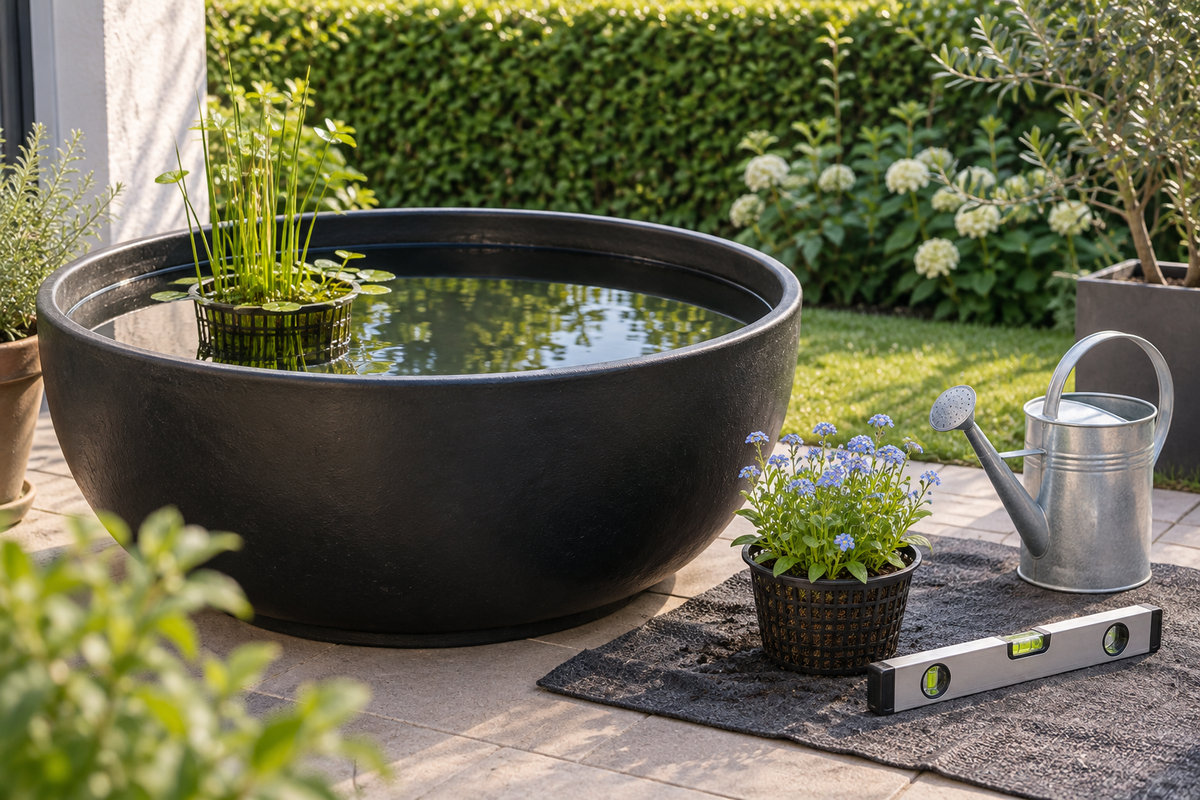
The simplest case is a single-piece, watertight container that is compatible with aquatic plants and placed on a pre-approved support. You add a few prepared baskets, appropriate water, and an exit point for small wildlife. Without any masonry work or electrical circuits to create, the work on-site can remain limited.
An assembly kit follows its own schedule. You must check the parts, assemble the structure, apply waterproofing, and install the accessories according to the instructions. The manufacturer Aquagarden presents its range of window ponds as an installation that can be completed in a few hours: this is not a universal promise of a thirty-minute assembly.
The filling time alone is sometimes enough to exceed half an hour. A 150-liter container filled at 5 liters per minute theoretically requires 30 minutes for the water alone. This calculation illustrates why it is better to set a method for yourself rather than racing against the clock.
Before the big day: choosing and checking the support
Identify the location precisely. A ground-level patio and a balcony do not have the same constraints. The total weight includes the water, the container, the baskets, the substrate, and the stones. Estimate about one kilogram per liter of water, then add the rest.
On a balcony, a roof, or a raised deck, have the structural capacity confirmed before any filling. A surface that appears solid does not necessarily provide this information. You must also take into account the pond's supports and any other existing loads.
The support must be stable, sufficiently level, and compatible with the container's specifications. Do not attempt to correct a significant slope with a few improvised shims under a full container. Preparing the support is part of the work that must be completed before the installation session.
Preparing a suitable container
Choose a container designed to hold water outdoors for the long term. Check for frost resistance and the absence of materials unsuitable for contact with aquatic life. A shell intended to be buried may require the support of the ground; it does not become a standalone pond simply because it is placed on tiles.
If you are reusing a container, find out about its previous contents. Avoid containers that have held pesticides, paints, or other chemicals. A previously used planter with holes requires a waterproofing solution prepared and tested in advance.
Clean the container using a compatible method and rinse it thoroughly. Do not use scented detergent in the hope of making it cleaner for the plants. Check for leaks before decorating it.
The list to gather before starting
- The container ready to be installed and any manuals.
- A level, a measuring tape, and the tools actually needed.
- Water suitable for the project and a clean way to fill it.
- One or two plants chosen according to the available depth and volume.
- Prepared baskets and stable supports if the plants need to be raised.
- A rough and stable exit point for small animals.
- A small net or simple tool to remove debris.
Plan the source of the water before assembly. For a pond without fish, clean rainwater collected from a suitable surface may be appropriate. Water collected that is full of dirt or from a problematic roof does not become suitable just because it is natural. For a project with fish, water preparation requires specific checks.
A sample workflow for a simple installation
First step: placing the empty container
Install it in its permanent spot and check the level in several directions. Keep a path clear for maintenance and movement on the terrace. Avoid areas where a door, a chair, or a gardening tool might hit the side.
Observe the container from your dining area or window. A small adjustment while empty is easy; moving a filled container is another matter. Also, check that it does not create dangerous access to a railing or an area restricted to children.
Second step: positioning the plants
Place the baskets without crowding the entire volume. The supports must remain stable when you add the water. The top of each basket is not the only reference: check the required depth for the plant's crown.
A moisture-loving marginal plant should not be drowned at the bottom of the container. Conversely, a submerged plant is not treated like a terrestrial plant. Prepare these positions before filling to avoid having to start over several times.
Third step: filling gradually and checking
Add the water gently to limit the displacement of the substrate. Monitor the seams, the level, and the stability. Leave a margin below the rim in accordance with the container and its usage, then check the position of the exit point for wildlife.
If equipment is planned, its commissioning follows its instructions and an appropriate electrical installation. Do not plug in a pump until it is correctly installed and submerged in water. A connection to be created should not be improvised just to meet the stated deadline.
A simple plant to start with: water forget-me-not

The water forget-me-not is a great option for a moist or shallowly submerged edge. You must reserve the appropriate depth for it and monitor its growth. Combine it, depending on the available space, with foliage that is more vertical rather than a multitude of small, tightly packed plants.
The planting baskets facilitate the organization of the mini-pond and subsequent maintenance. Choose them based on their actual dimensions: a basket that is too large can occupy almost the entire bottom of a small container.
What continues after the first thirty minutes
The pond then begins to evolve. Monitor its level, the appearance of the plants, and the temperature during sunny days. A small above-ground volume can change temperature rapidly. If the location proves too exposed, think about appropriate shading before the plants suffer.
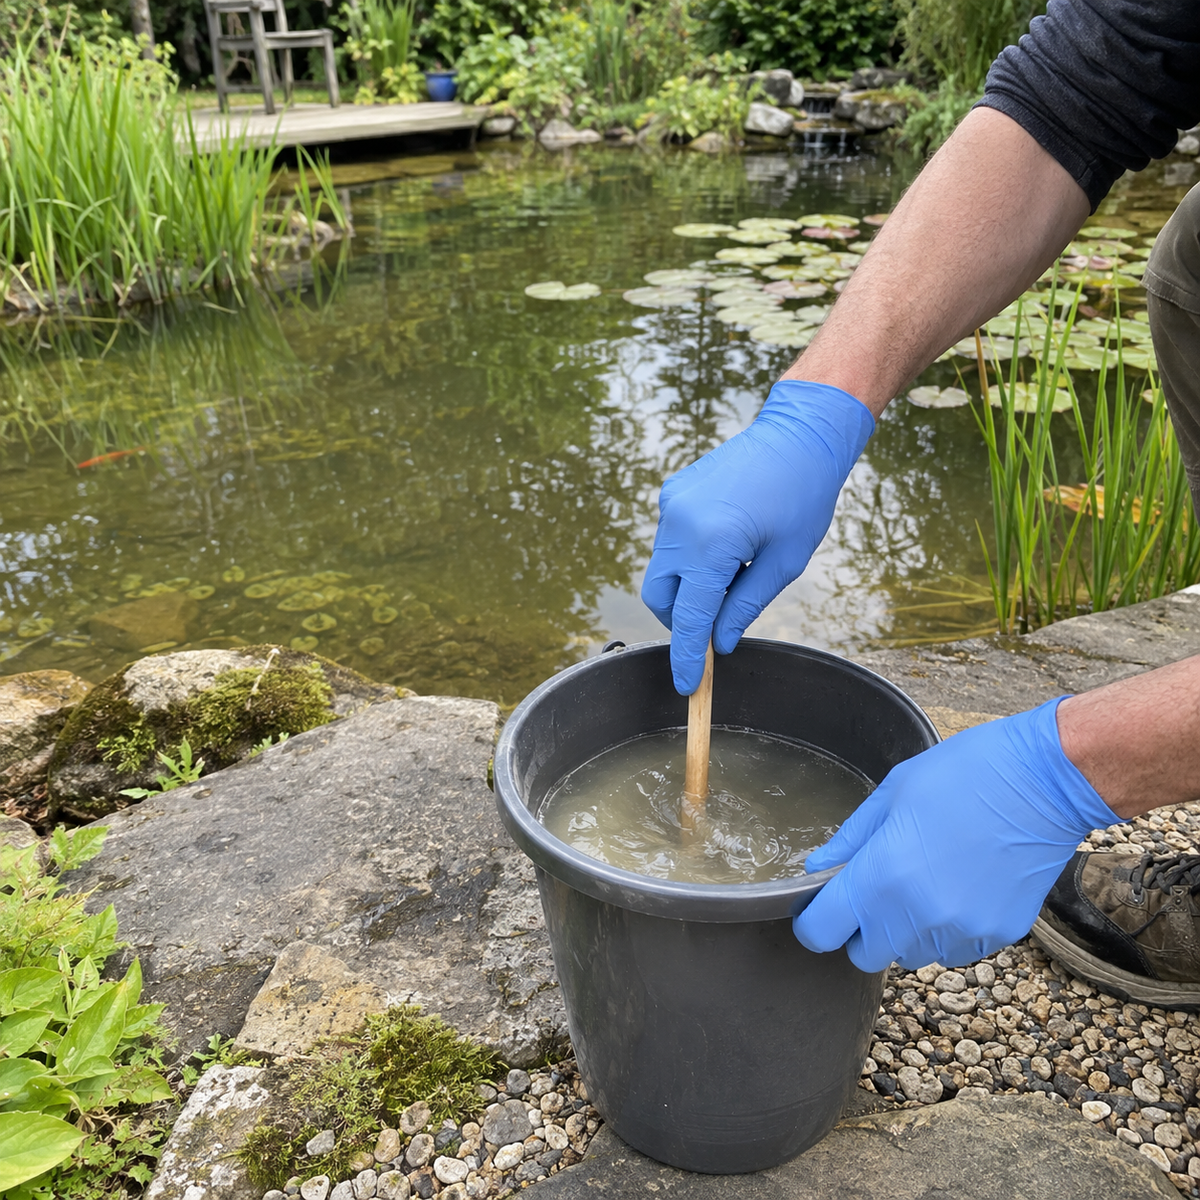
Remove dead leaves and accessible debris. Slightly cloudy water after planting primarily requires checking for particles that have been stirred up. Adding several products without a diagnosis can complicate a startup that simply needed cleaner planting and a bit of observation.
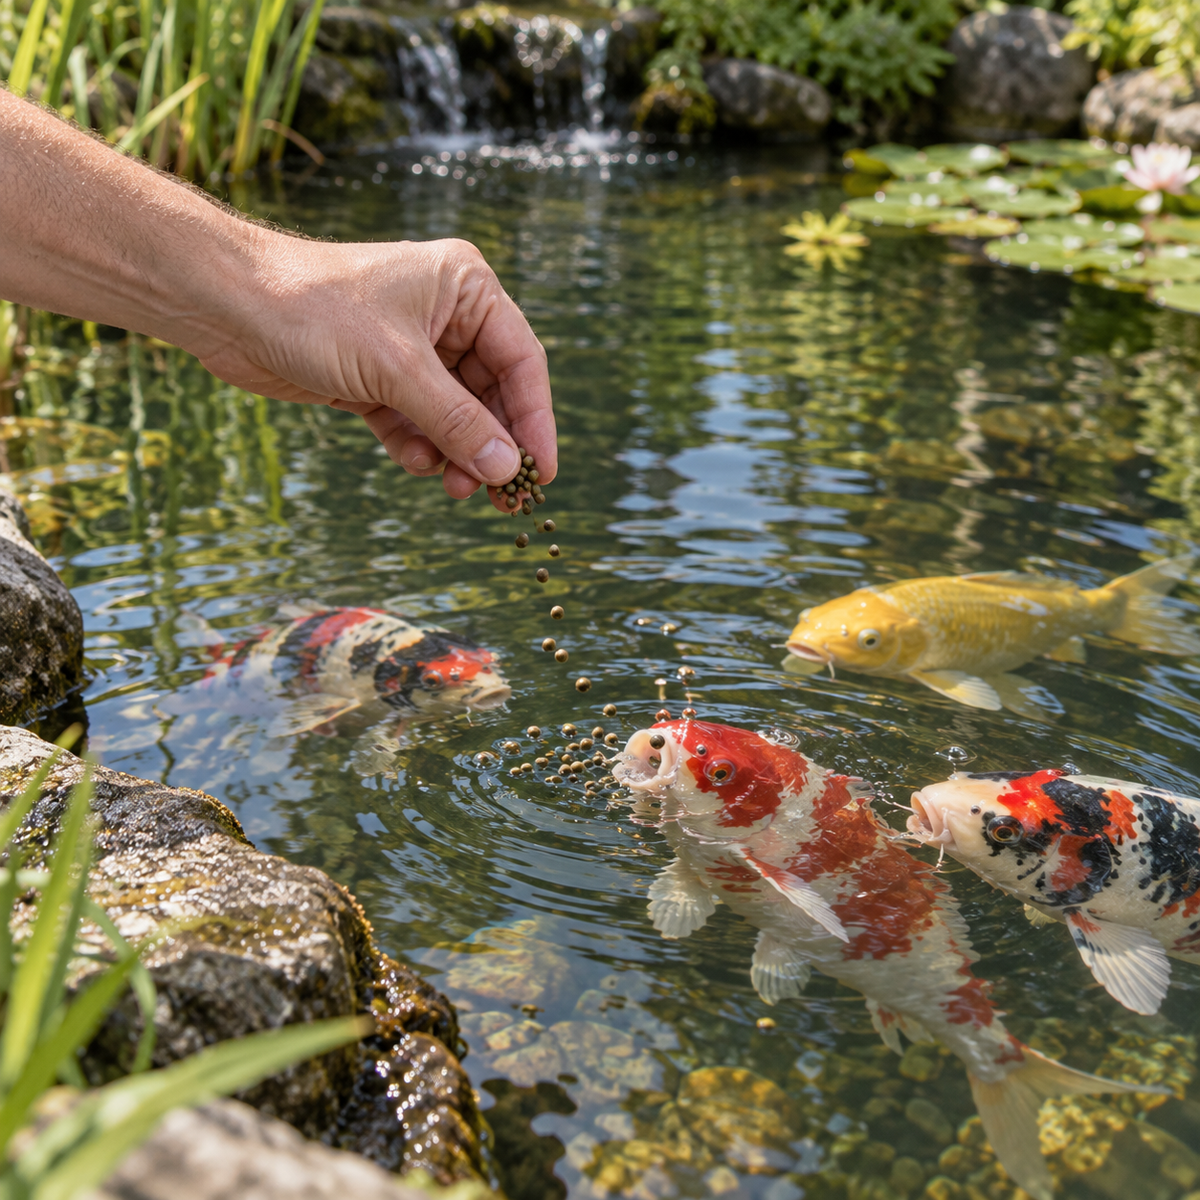
Fish require a separate decision. You must check their adult size, usable volume, oxygenation, filtration, and overwintering needs, then prepare the biological system. A bottle of bacteria does not turn a freshly filled container into an immediately ready habitat.
The right goal: a simple pond to live with
A prepared container, a few well-chosen plants, and easy access already create a pleasant water feature. If your project takes two hours instead of thirty minutes, take the time. Re-waterproofing or moving the container after filling would take much longer.
Prepare your list before installation: send the dimensions of the container, a photo of the support, and your plant preferences to support@aquiflor.com. For an assembly kit, you can also check out the Half Moon Mocha pond by verifying the instructions and assembly time for the chosen version.